
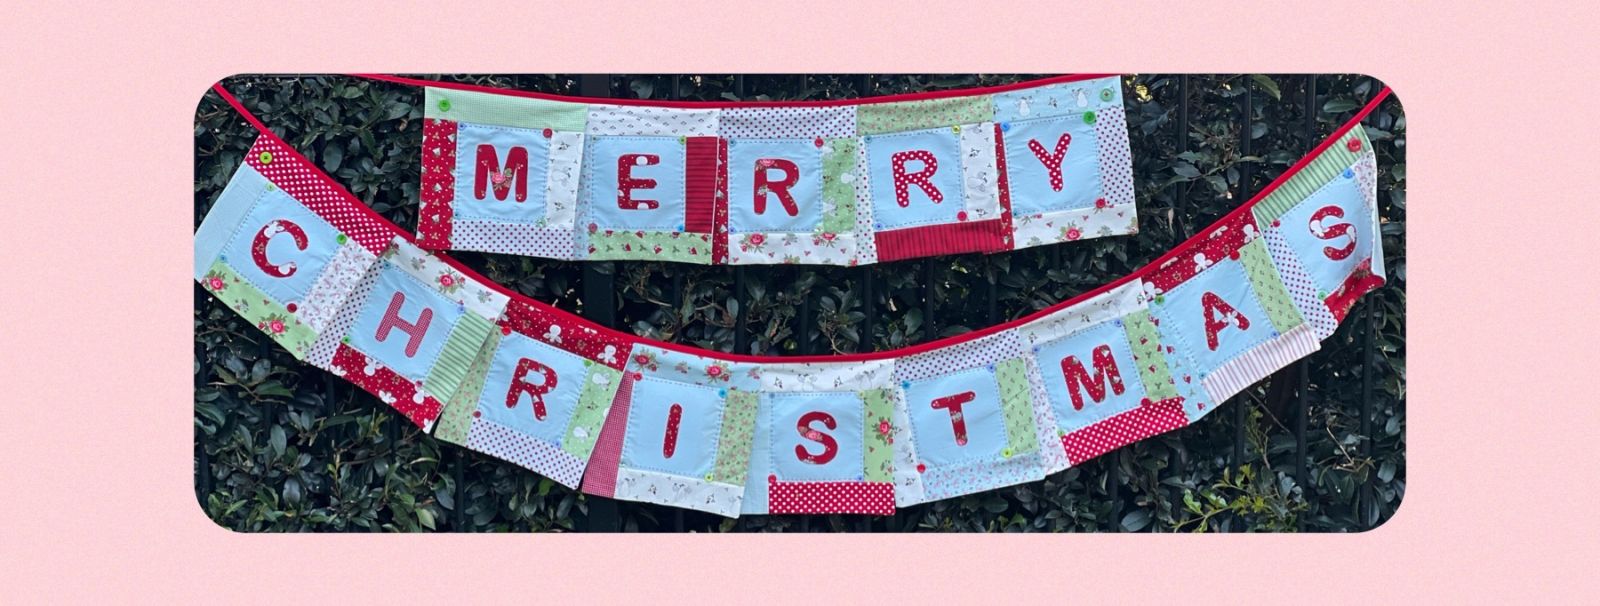
Requirements
1/2m fabric for bias binding – you will need approximately 5m of Bias Binding depending on how much you need to tie it up.
1- 1.5m plain fabric for backing and squares.
Various coordinating pieces of fabric for the letters & borders. Approximately 1m in total.
1/2m Applique paper or similar Iron on paper.
Various buttons, if required.
Embroidery thread, if required.
Cutting Instructions
Plain Fabric
14 X 6 ½ “squares for centers
14 X 10 ½” squares for backing.
For edges
14 X 6 ½” X 2 ½” Rectangles
28 X 8 ½” X 2 ½” Rectangles
14 X 10 ½” X 2 ½” Rectangles
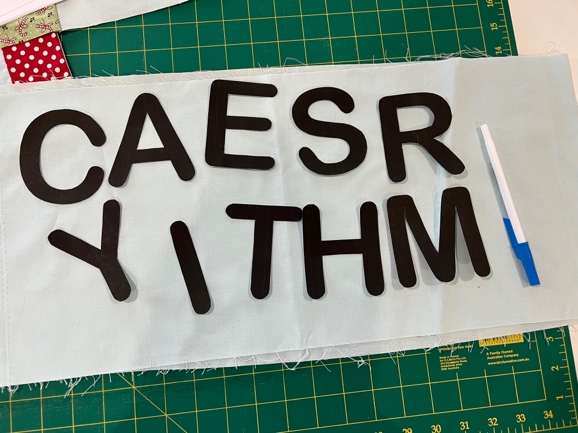
Making letter templates – Download the PDF For the Letter Templates here.
 .
. 
I find it easier to make cardboard templates and then trace around them. Glue a copy of the letters onto thin cardboard (i.e., an old manila folder) and then cut it out. This makes it easier to trace around and more durable as you may wish to use them again.
NB: Please use your favorite method to applique.
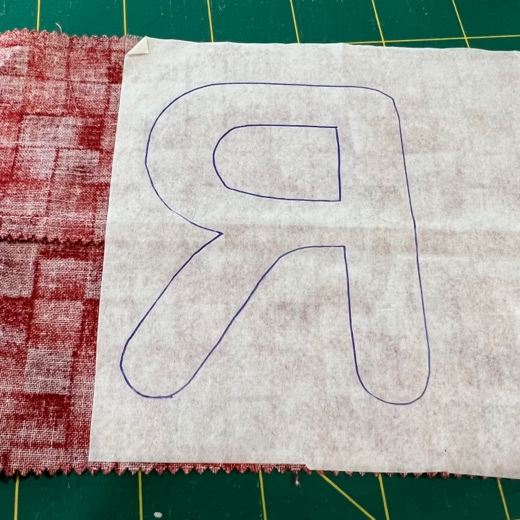
Iron Applique paper onto the back of the fabric for the letters.
Trace the letters onto the Applique paper backing remembering to reverse the cardboard templates as needed.
Cut out along your traced lines.
Carefully peel off the backing paper.
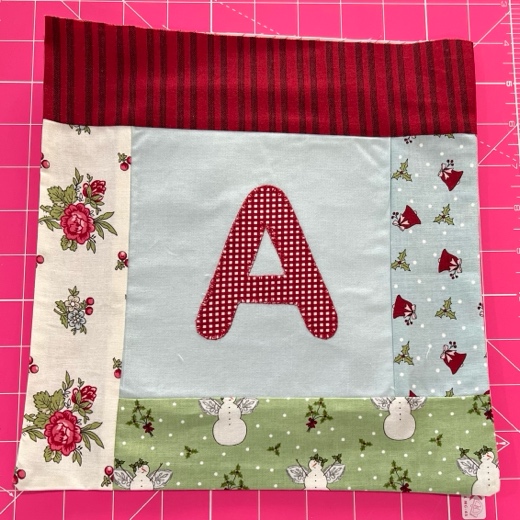
Center the letters onto the middle of the 6 ½“ squares and iron them into place.
You may wish to iron a stabilizer onto the back of the square before completing stitching around the shapes. This does make it easier.
Blanket stitch either by hand or machine around the raw edges.
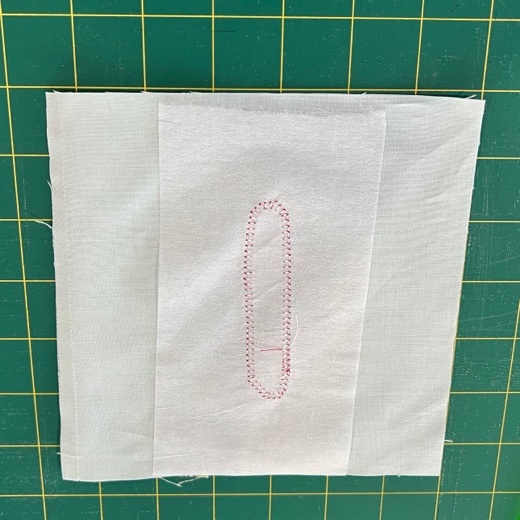
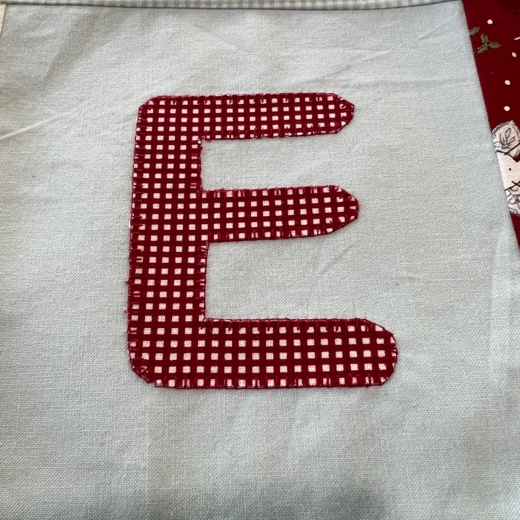
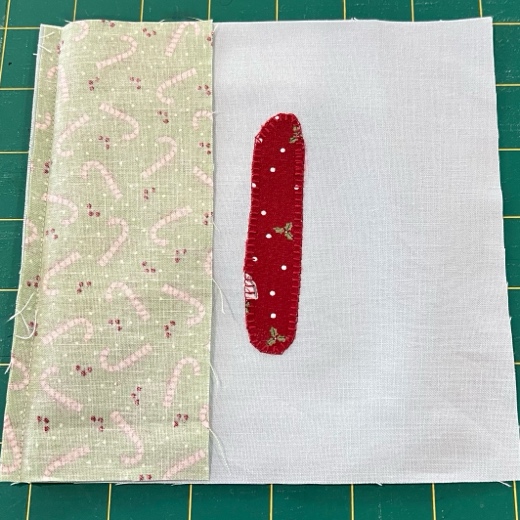
Sew one 6 ½” strip along the LHS of all the 6 ½” lettered squares.
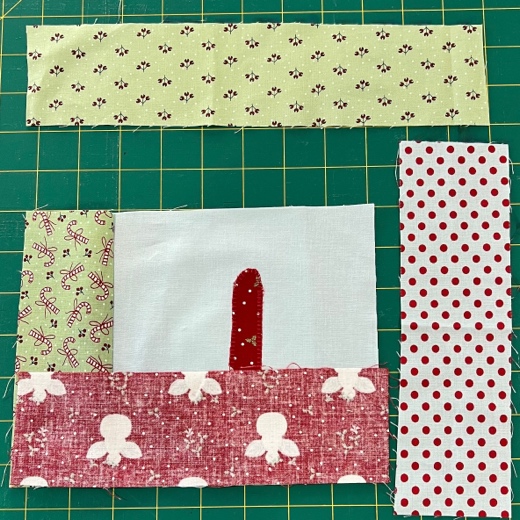
Then sew, the 8 ½” strips along the bottom edge and then along the RHS of the lettered squares.
Lastly, sew the 10 ½” strip across the top of each one.
Press.
Place the backing squares and lettered squares together with the right sides together. Sew along three sides leaving the top open.
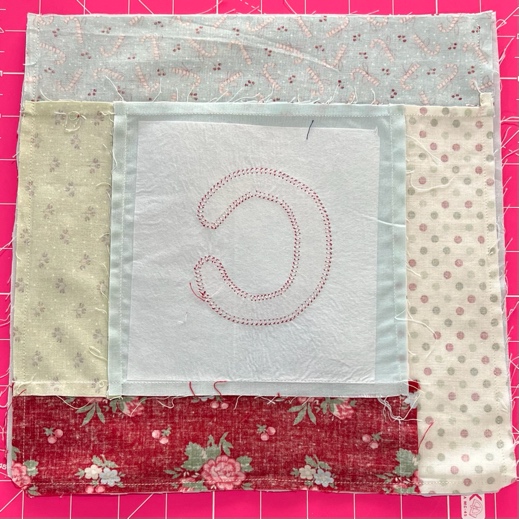
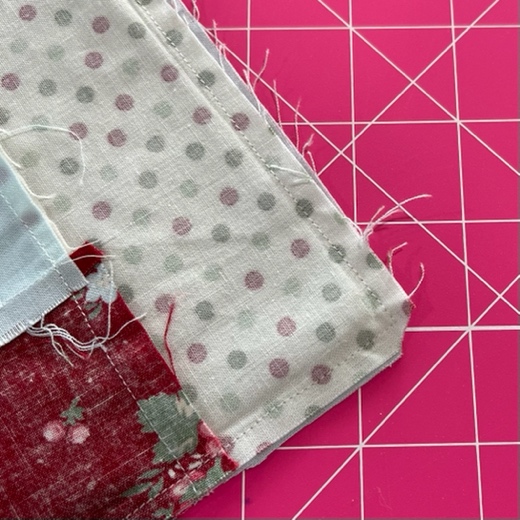
Trim the corners. Turn right side out and press again.
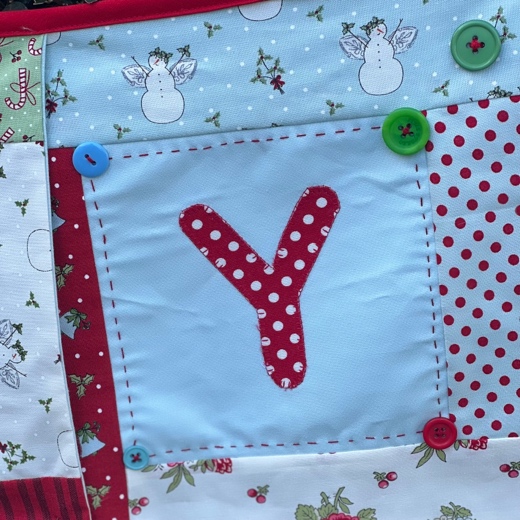
You may wish to add buttons and a hand quilt around the corners as shown in the photo below at this stage.
Making Bias Binding - I usually make heaps of bias at once so it is ready for the next time. Line up the all letter square of your bunting, please please double check you have them in the correct order.
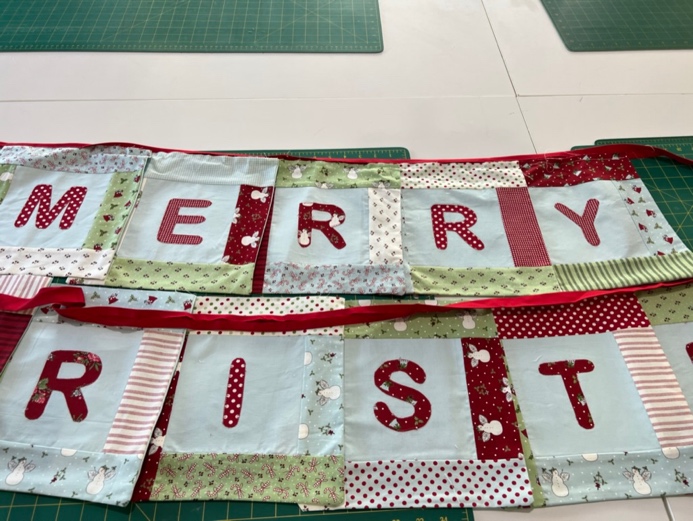
Make the bias binding tape if you haven't already. See below.
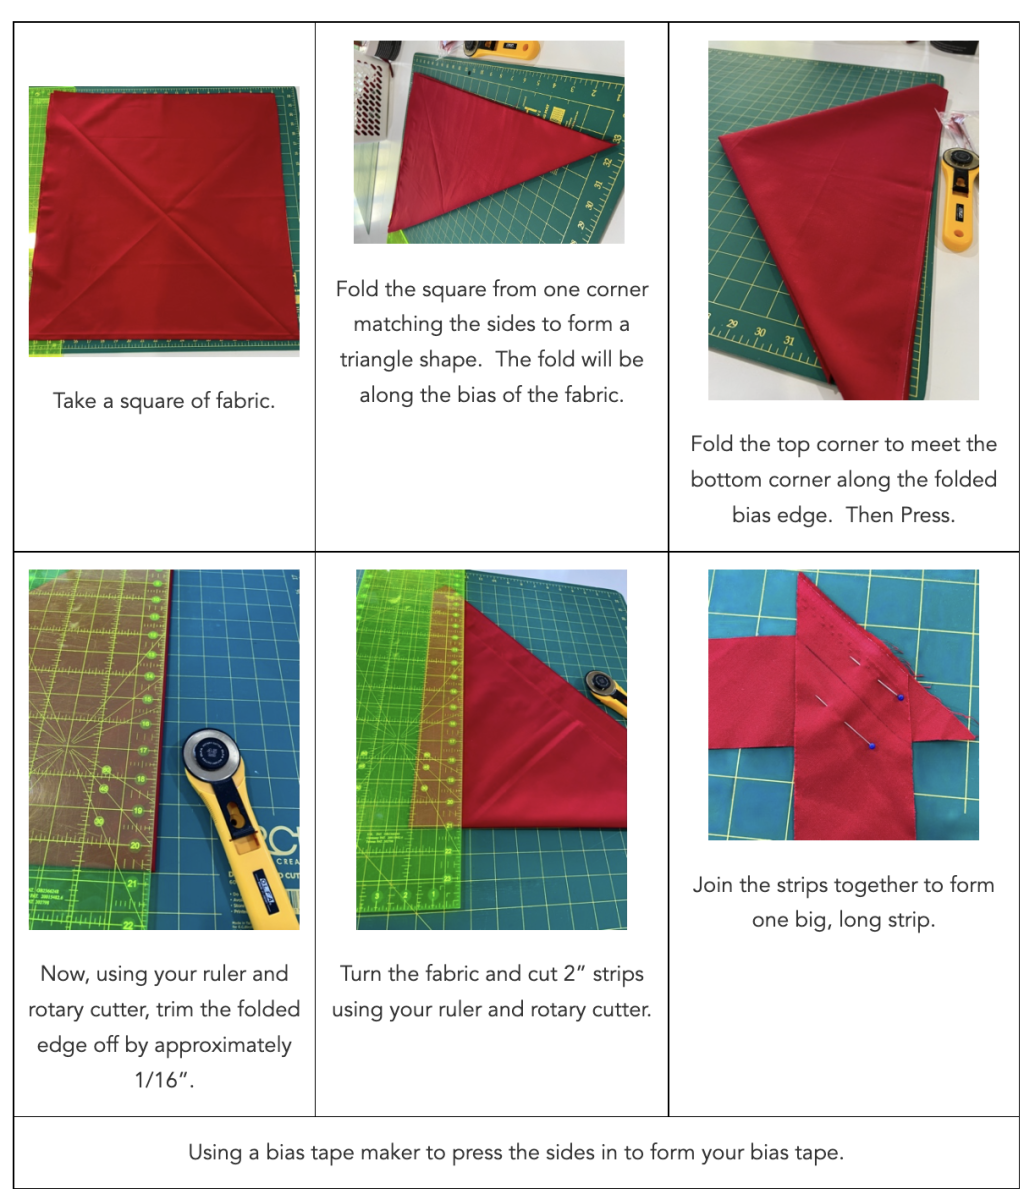
Check the bias tape is long enough.
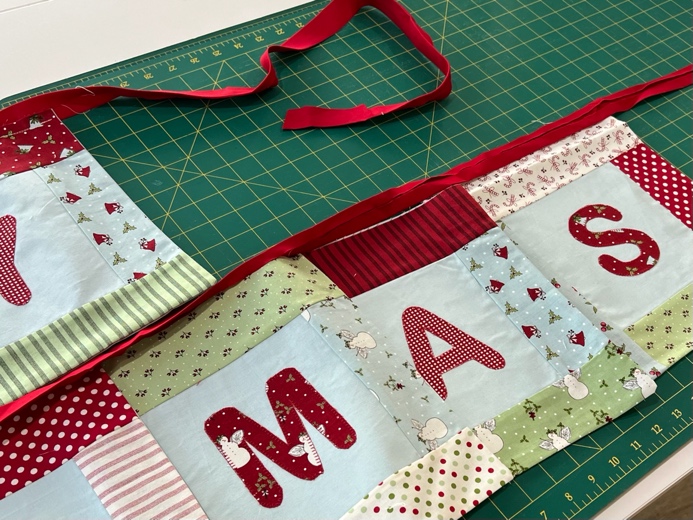
I sew the Bias tape onto the back of the bunting first and then fold it back over to the front and then top stitch it down.
Place the squares face-side down and in the reverse order. Overlap each one by approximately 2” over the other i.e., the width of the strip.
To sew the bias tape on, open it out and place it with right sides together along the top of the squares. Sew all the way along the ironed crease.
Fold the bias tape back over to the front. Starting at one end of the bias tape top stitch all the way along.
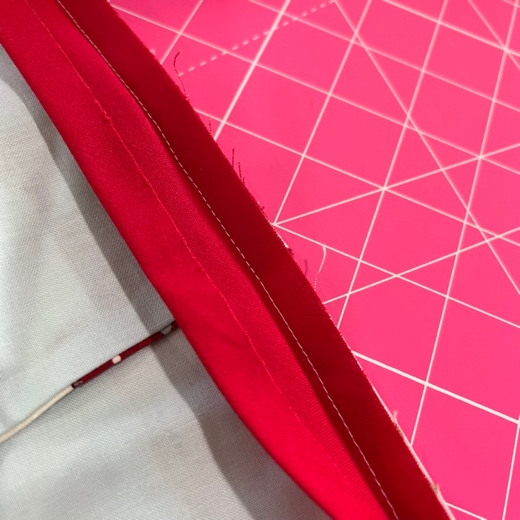
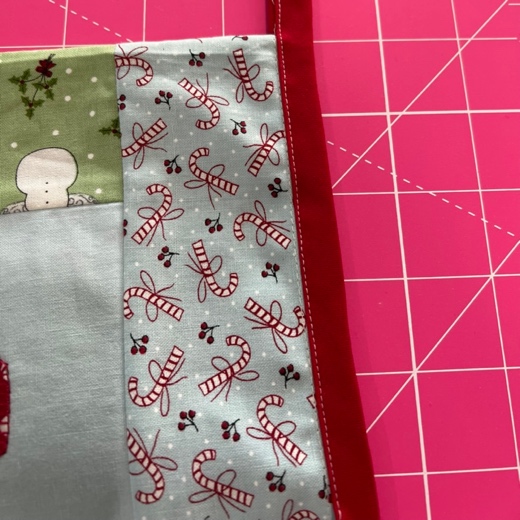
NOW! Hang your bunting up!
Merry Christmas!
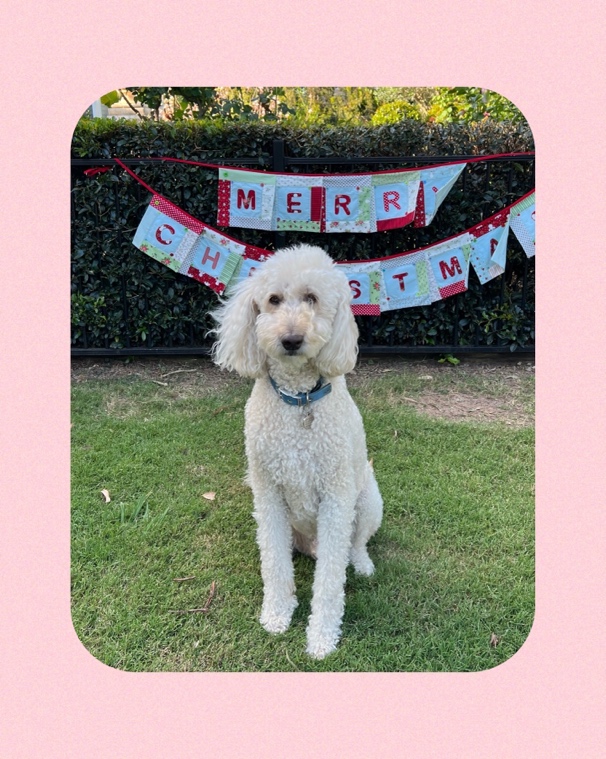
Merry Christmas bbanner
Lorraine Whittaker on 28 November 2025
Looks beautiful love it.
Megelles Response
Thank you so much Lorraine